
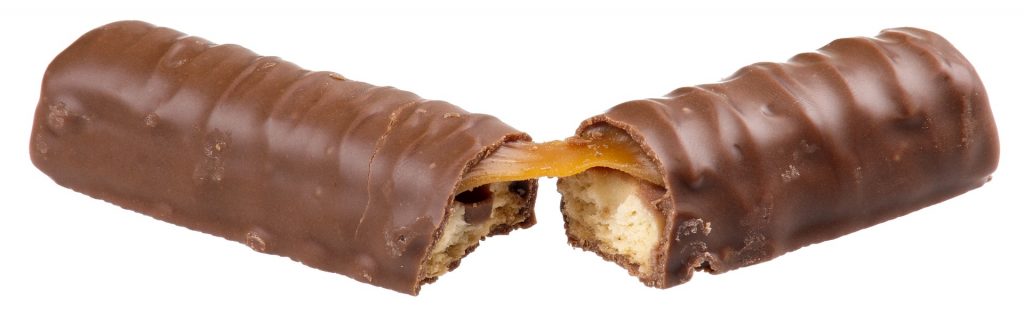
To make Twix you will make version 1 or 2 of the shortbread recipe and make the caramel candy recipe and then simply need to have chocolate chips to melt and coat. That is a Twix, chocolate, shortbread, caramel chocolate. But you are the boss of creativity. So while you could make the shortbread, coat with caramel layer, cut into sticks, freeze and dip into the melted chocolate, and that is very delicious- you also can create Twix cups but lining a cupcake liner (or silicone cupcake mold) with melted chocolate- pop in freezer to harden, cut shortbread into circles (or bake as rounds) and place inside the harden chocolate cup. Cut out caramel circle or pour from pot onto the shortbread. Pour melted chocolate on top and you have awesome individually wrapped treats. You can also cut the shortbread or bake it in different shapes and do the same with caramel. you can line a 8in x8in pan with parchment, pour a layer of chocolate, let harden a bit then add 8in x8in shortbread square and 8x8in caramel square. Pour chocolate on top so that it also goes down the sides unless you want them exposed. Let harden and remove from parchment and drizzle some caramel or melted white chocolate or heck- whatever you like to decorate the top and you have a massive Twix. You’re welcome.
The amount of chocolate you need totally depends on what you do with your idea for your Twix. Plan on at least 3 cups of chocolate chips (18oz or so). You can use whatever type of chocolate that YOU like to eat. You can also use store bought caramels and melt them.
Scottish Shortbread- 3 ways
Ingredients
Version #1- powdered sugar
- 1 1/2 c pastry flour OR 1 1/4c all purpose flour
- 1/4 c powdered sugar
- 1 stick room temp salted butter OR unsalted butter plus 1/4tsp salt
- flavor of choice- extracts, sliced almonds, zests, caraway seeds, poppy seeds, herbs, spices… I would start with 1/2tsp of extract and 1/2 tsp of seeds or spices and increase from there.
Version #2- white sugar
- 1 1/2 c pastry flour OR 1 1/4c all purpose flour
- 1/4 c white sugar
- 1 stick room temp salted butter OR unsalted butter plus 1/4tsp salt
- flavor of choice- extracts, sliced almonds, zests, caraway seeds, poppy seeds, herbs, spices… I would start with 1/2tsp of extract and 1/2 tsp of seeds or spices and increase from there.
Version #3- piped cookies
- 1 1/2 c pastry flour or 1 1/4c all purpose flour
- 1/4c plus 2T powdered sugar
- 1 stick room temp salted butter or unsalted plus 1/4tsp salt
- ~1/4c T milk or cream- add milk until it becomes a thick batter that can be piped.
- flavor of choice- extracts, sliced almonds, zests, caraway seeds, poppy seeds, herbs, spices… I would start with 1/2tsp of extract and 1/2 tsp of seeds or spices and increase from there.
Instructions
- The white sugar version has a richer flavor, the powdered sugar one crumbles in your mouth more, the piped version is a bit in the middle of both. I am posting all 3 because there was a heated discussion by my taste testers as they all felt that a different one was the best. I redid the recipes to make them small batches so that you can try all 3!
Follow these initial steps for all 3 versions
- Place the butter in a medium size bowl. Optional: sift first. Add in flour, sugar and salt (if using unsalted butter) and any flavors. Using your hands or wooden spoon- but i really recommend hands- work butter into the flour/sugar, breaking it into small pieces. Initially the dough may seem too dry, but continue to work it together with your hands and it will come together into a nice soft ball of dough. If making the piped version, mix in the cream.
Oven at 350- bake time 10-25 minutes – all depends on thickness of cookies. You DO NOT want them to be browned on top, a slight golden brown on the bottom is fine.
Shaping version 1 and 2
- You can form dough into a rectangle to cut into shortbread sticks/fingers. Or into a disk and cut into wedges to make petticoat tail cookies ( if you want to be very traditional, use a small circular cutter and cut a circle in the middle of the disk and then cut out wedges. You can also use a round cutter and create round shorbread cookies/biscuits. Optional: chill in freezer for 5-7 min before baking
Shaping version 3
- Fit a large piping tip into a sturdy piping bag. Place dough in the bag and pipe circular decorative cookies- no right or wrong way- have fun with it!
Dust with powdered sugar, fill with jam, lemon curd… have fun!
Soft Caramels- no corn syrup
Ingredients
- 2 c sugar
- 1 tsp cream of tarter, can omit or sub in lemon juice or white vinegar. This helps prevents sugar crystals from forming. You can make caramel without it but it will make your results more consistent.
- 1 c water
- 1/3 c Heavy Cream- it may say whipping cream on your container. (room temp is best) you can also use coconut cream- you need high fat so cannot use milk or other milk substitutes UNLESS you are willing to do a little extra work. You need to create the same fat content so about 40%. Butter is 80% fat. So you can experiment with doing half whole milk and half butter to get to the correct fat content. You can also experiment with whole fat sour creams and yogurt with extra butter. BUT if you just add in milk- you will be sad. Because science wont be on your side.
- 3 T butter, room temp
- 1 tsp vanilla or extract of choice
- 1/2 tsp fine salt
- coarse salt if you want to top. Or chili powder for a spicy caramel, or zest of orange… your choice!
A pastry brush or wet paper towel is going to help you out a lot. Dipping a pastry brush into water and brushing down the sides of the pot helps prevent crystals from forming and ruining your caramel.
Instructions
You need a thermometer or can do the water method for checking for firm ball stage. To do that, spoon some of the mixture into a bowl of water, at 245-250 degrees it will harden into a consistency that you can form it into a ball that has squish to it but holds the shape if not smashed. To know the caramel is at 350 degrees, you need to watch for it to turn to a medium/dark amber color. Do not burn it. It will make the change pretty quick so you need to watch the mixture more carefully than if you have a thermometer. If using a thermometer make sure it is accurate (place in a glass of ice water and it should read 32 degrees F). Then make sure the probe is submerged into the caramel mixture for accurate read.
For candies: line a pan that will support the thickness you want your candies to be (8x8in works well). Line it with with parchment including the sides, you may also want to spray the parchment with nonstick spray. Caramel is sticky. Shocking, I know. For other uses: if pouring into a batter or on top of another item for candy making, you will want to let it cool and thicken a bit first, checking to make sure it doesnt get too hard. You can always warm it up to thin it out.
- In a medium pot combing sugar, water and cream of tarter and turn on stove to a low/medium heat. You are dissolving the sugar into the water, this part requires you to pretty continuously whisk/stir the mixture. You don't want to get rushed and try to speed it up because that is when you risk sugar crystals forming. If they do form on the side of the pot, wipe them down with a wet pastry brush or CAREFUlly with a wet paper towel. This can take up to 10 minutes, so be patient.
- Once it has disolved, go ahead and place your thermometer into the pot. Turn the heat on medium/medium high. You will continue to stir/whisk until it starts to simmer. Then stop whisking and let it boil until it reaches 350 degrees or it turns amber brown. During this stage- watch for sugar crystals forming and wipe them down if they do. Watch for burning, if it starts to burn BEFORE it reaches 350 degrees (around edges of pot) then gently swirl the mixture and lower the heat. We are making authentic artisan caramel. This means we aren't using corn syrup to help us along. Which means this might take 10-20min. Don't rush it, enjoy the fact that you are making candy the way its been made for an incredibly long time.
- Once it has reached 350 degrees. Turn off the heat/remove from heat. You then are adding in the cream and butter- the mixture will spit at you so be careful- do not slam dunk the butter in there and spalsh in cream. What I like to do is add butter, stir that in until smooth and then add cream, stir until smooth. MAKE SURE YOUR ARE USING A CLEAN AND DRY STIRRING UTENSIL. Silicone spatulas work great and are easiest to clean.
- Back to candy science. Our mixture has cooled below candy making. It's a caramel sauce and that isn't a bad thing BUT it won't get you chewy caramels. To do that, we must heat it back to firm ball stage- 245-250 degrees. So let's get the pot back on the burner and let it boil back up to that temp- it doesn't take long so don't go to the bathroom during this time.
- Once it is at the correct temp, stir in salt and vanilla (or flavor of choice). If you are adding other fun things to the candy- now is the time. Pour the mixture into the prepared pan. Knock the pan on the counter to remove any air bubbles. Sprinkle with extra salt if you like. Then let cool and harden. I will pop mine into the fridge to cool. Or let sit out for a few hours or overnight. Cut caramels into desired shape or eat it all just as it is. No judgment. Caramels will keep at room temp in a sealed container for about 2 weeks. But use your own brain- if it smells or looks off, toss.